Today I’d like to introduce an extension I’ve created for Adobe Photoshop: Opacity Editor.
I like to take pictures, ok, I’m definitely not a professional photographer, but I still like to try to be one 🙂
In particular I like to take pictures at night, I like to take pictures of moving clouds, stars.. etc. And then I like to stack all the photos into a single document. The problem is that most of the times this Photoshop document has hundreds, if not thousands, of layers (and we’re talking about 40MP images) and, despite the fact that photoshop can barely survive after I’ve added all those layers to the document, the real problem comes after that.. In order to create a nice stacking effect it’s not just a matter of changing the blending mode of the different layers, but also to change their opacity.
Unfortunately Photoshop doesn’t have an option to manage the opacity of multiple layers at the same time, like, for instance, from 0 to 100 of all the selected layers.. or even more advanced options.
That’s why I’ve decided to make an extension (available here) for this. This is it’s pretty easy interface:
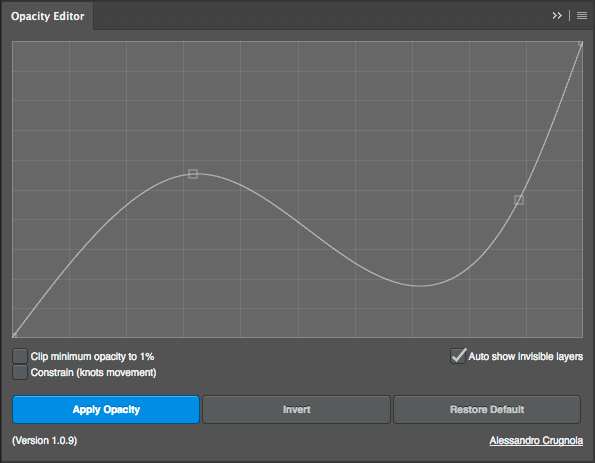
So basically what it does is: you select a bunch of layers in your document, then you create the bezier curve. Once you click on “Apply Opacity” the opacity of every selected layer will follow the designed curve value. Let’s make it easier. If you design a curve like this:

the first selected layer will have an opacity of 0 (completely invisible), while the last layer will have 100 as opacity. (If you’ve selected 100 layers, then the second one will have an opacity value of 1, the third of 2 and so on..)
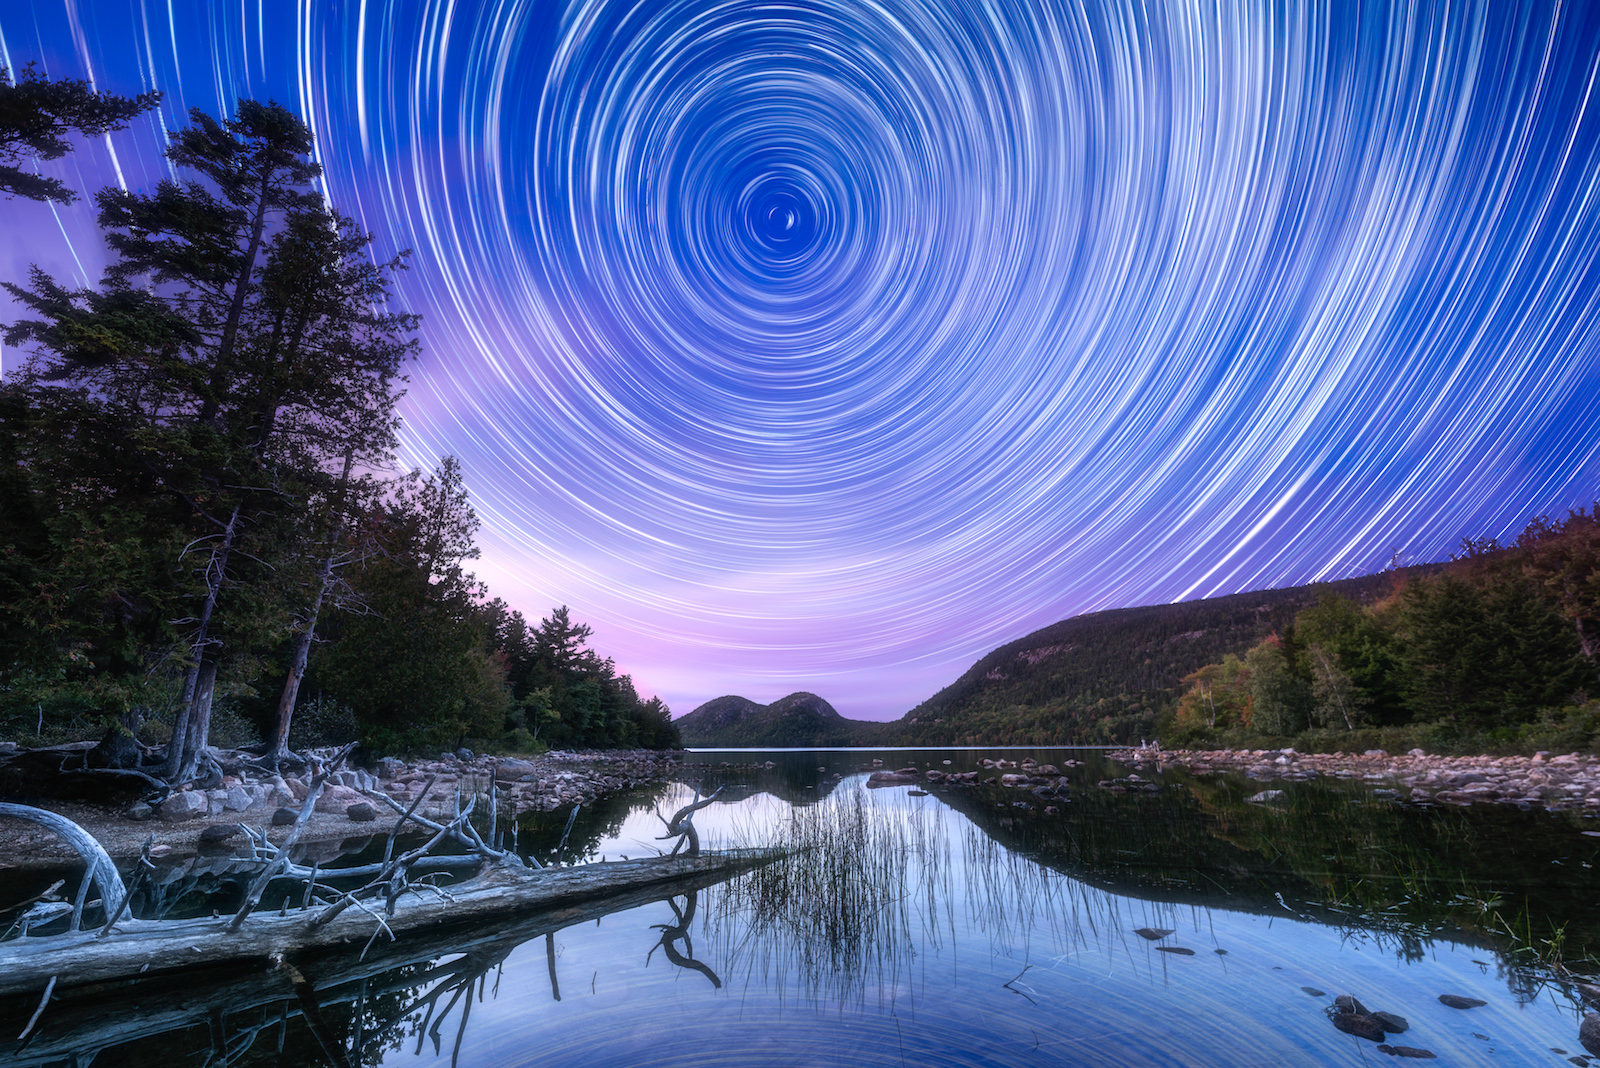
These 2 images, for instance, have been created using this extension:
 |
|
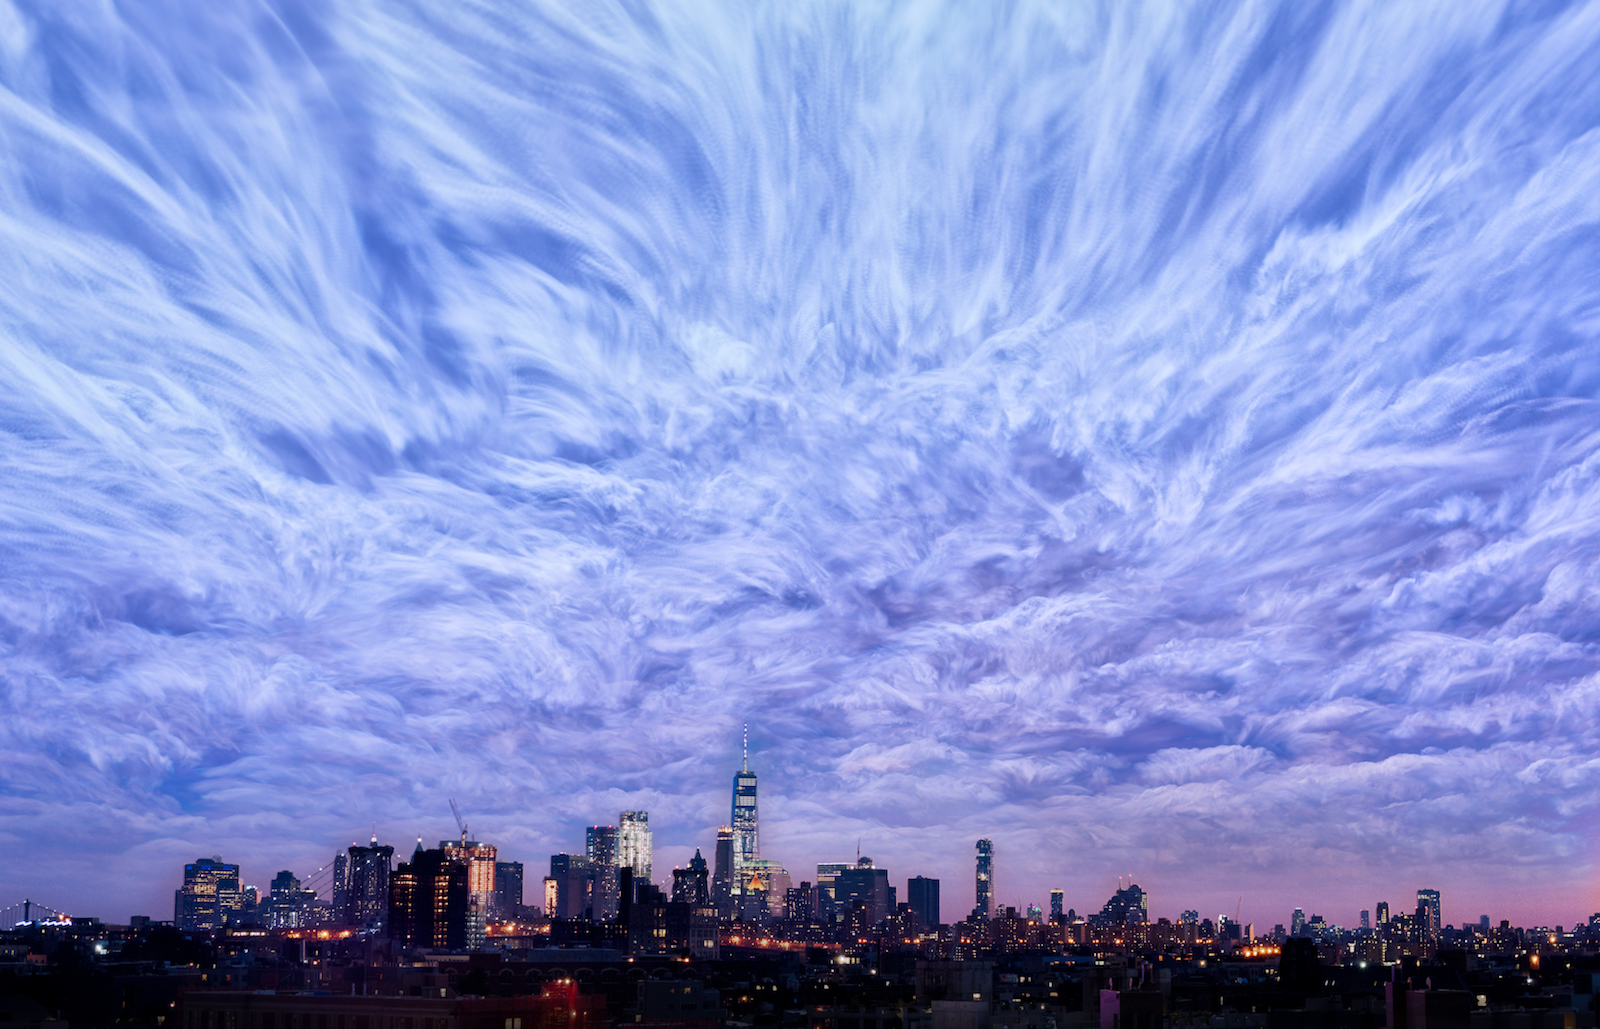
The second one is the result of 1200 layers stacked together and without that extension I would probably still working on it!
And here’s an example of the Extension in action:
For more information and download:
https://www.adobeexchange.com/creativecloud.details.20327.html
